|
Viking Skull Lamp
V1.0.1
|
|
Viking Skull Lamp
V1.0.1
|
I have made a lot of iterations for some parts to make them perfectly fit. I had a ton of ideas at the beginning on how to make this whole thing happen, so I tried them and I chose the solution that I think is the best. After a month of tweaking, I think the models are ready for anyone. Every FDM printer nowadays should be capable to make them.
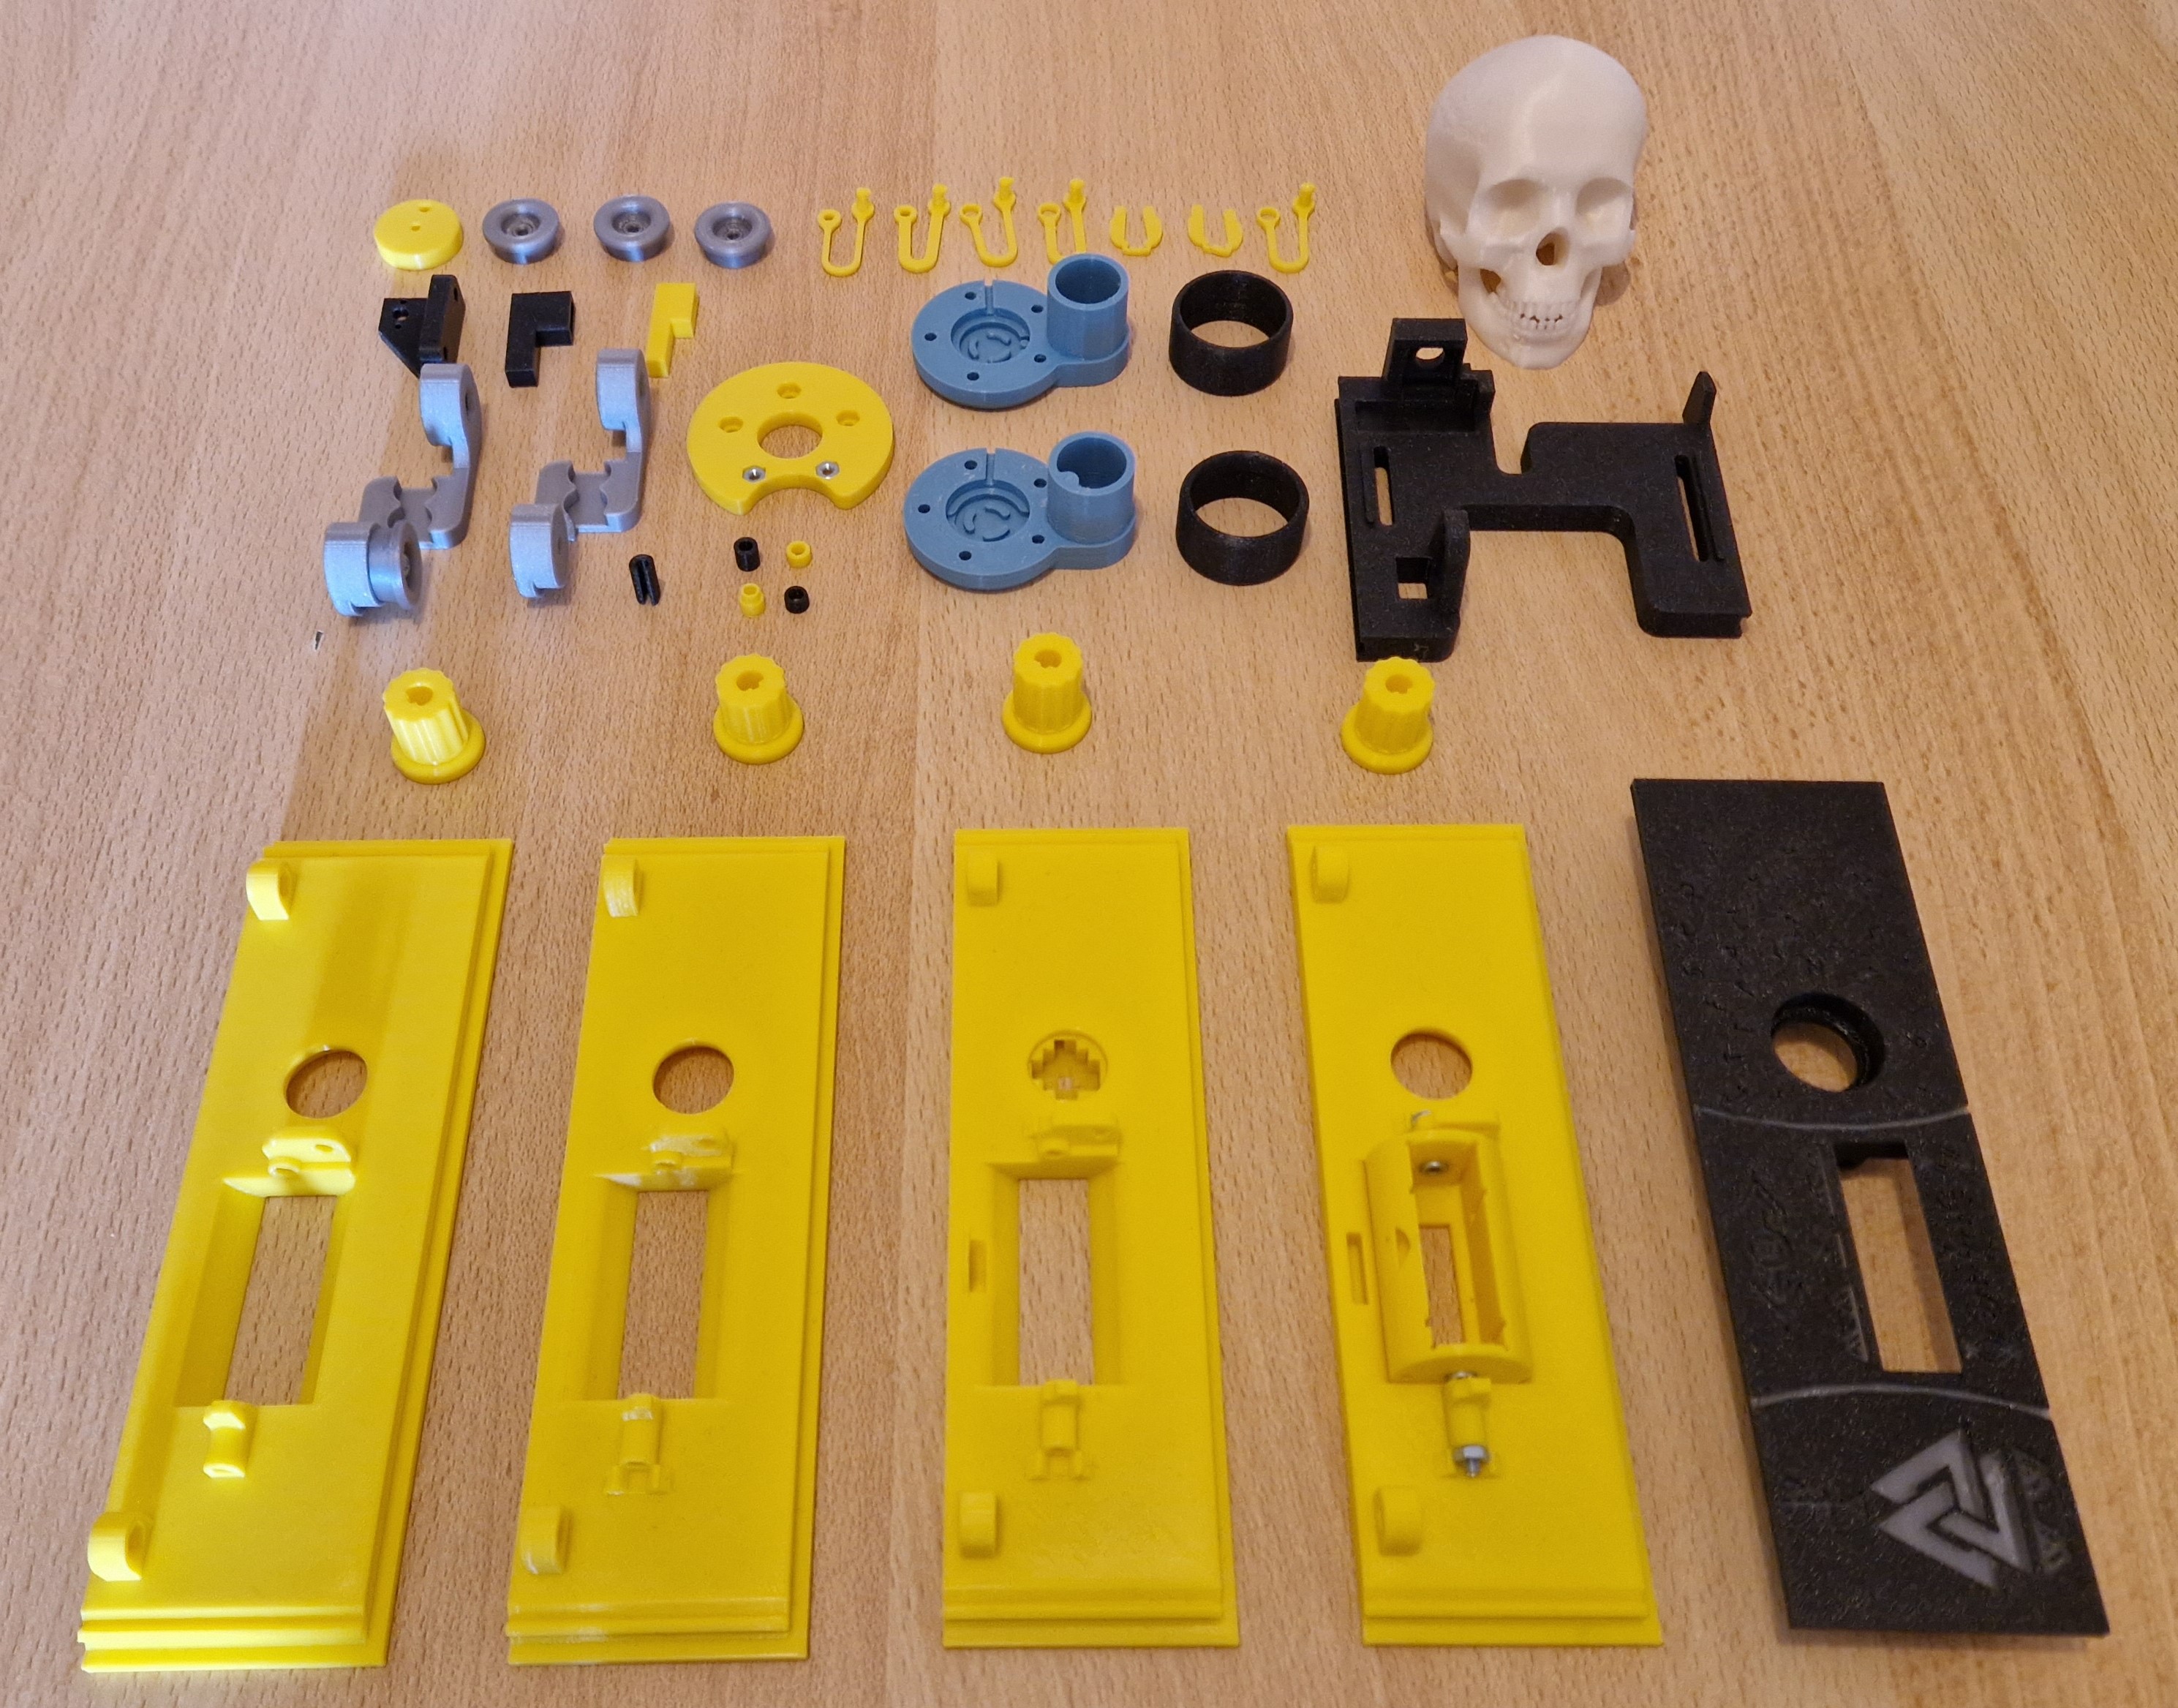
If you don't like the color design of my version, you can use different colors and materials of course. Be creative and create something that you would like to see on your desk.
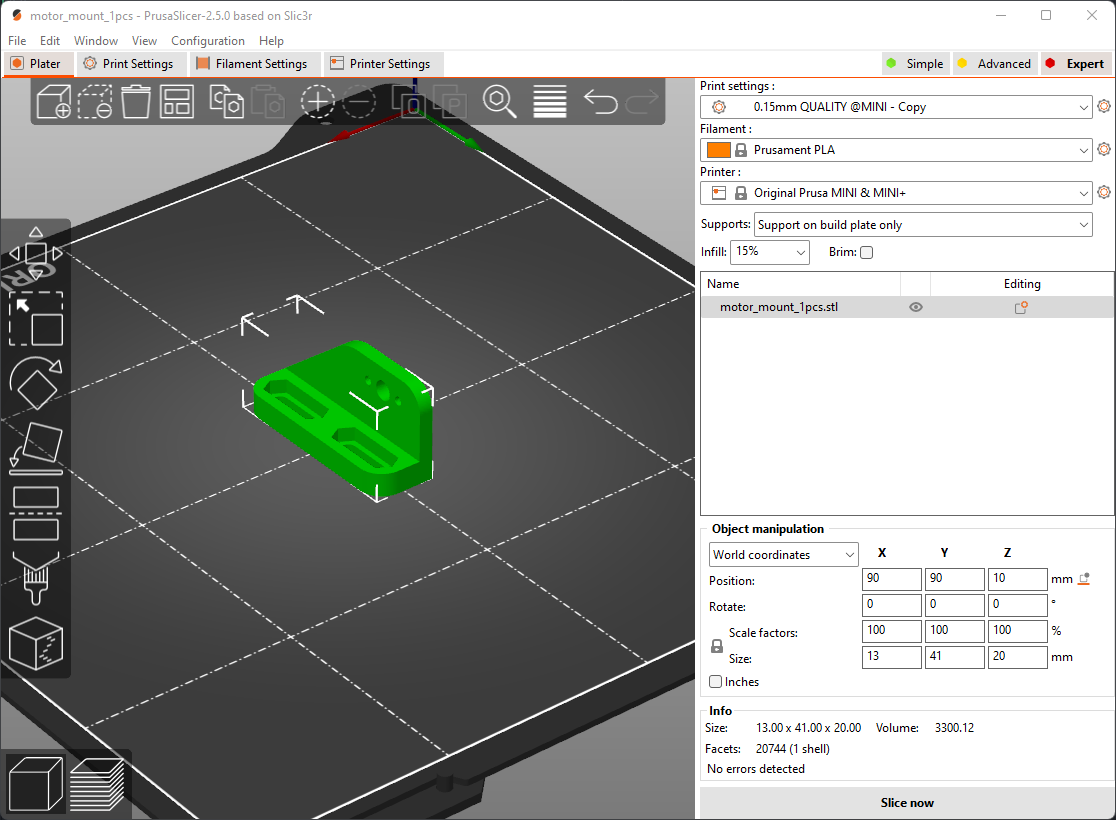
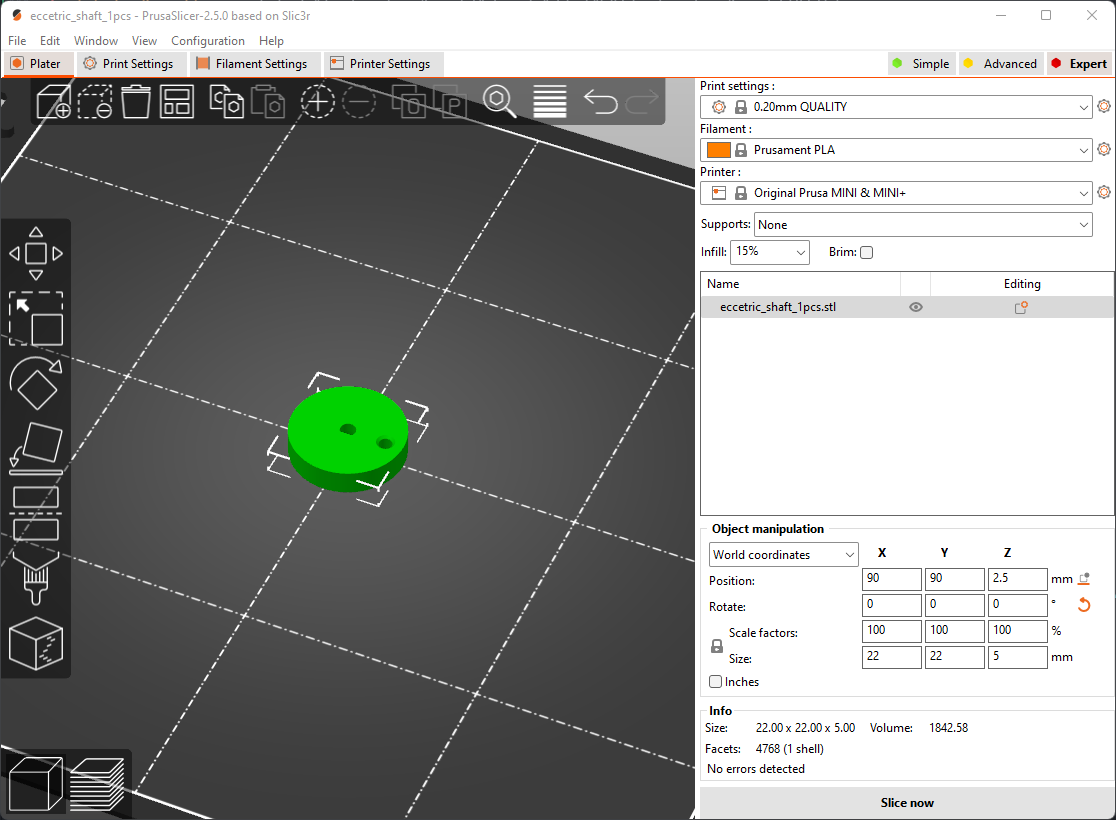
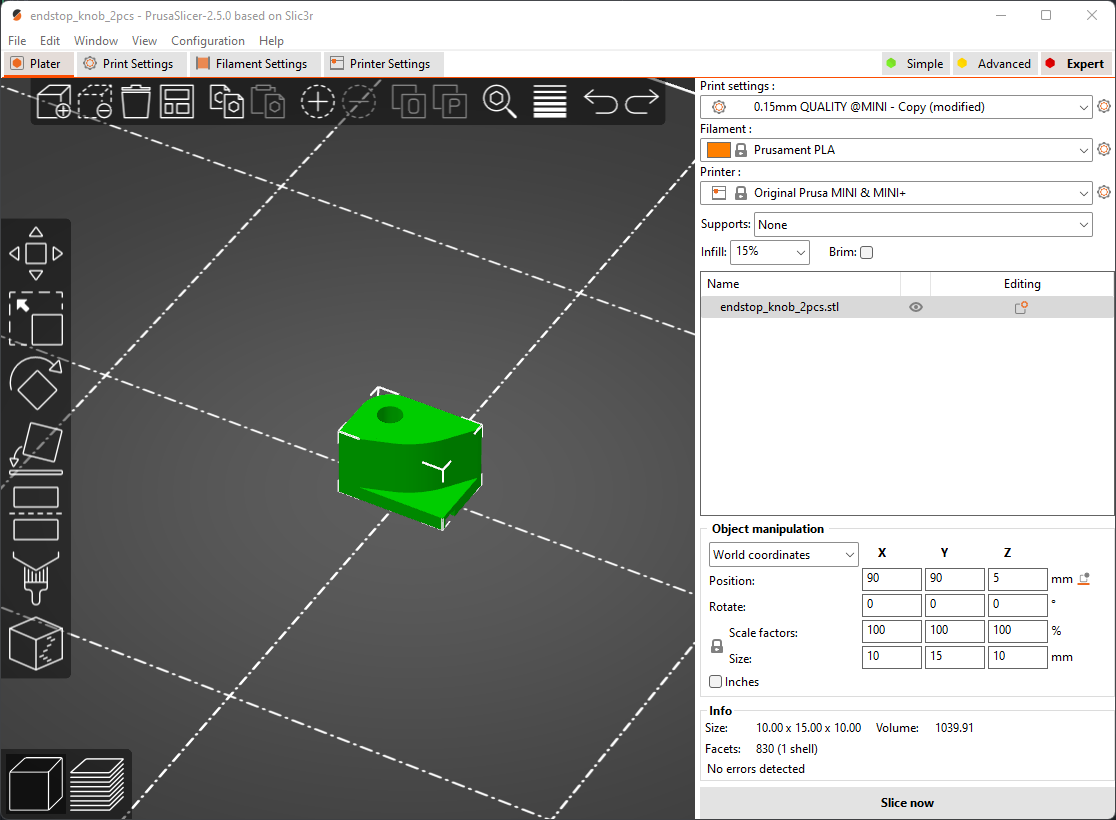
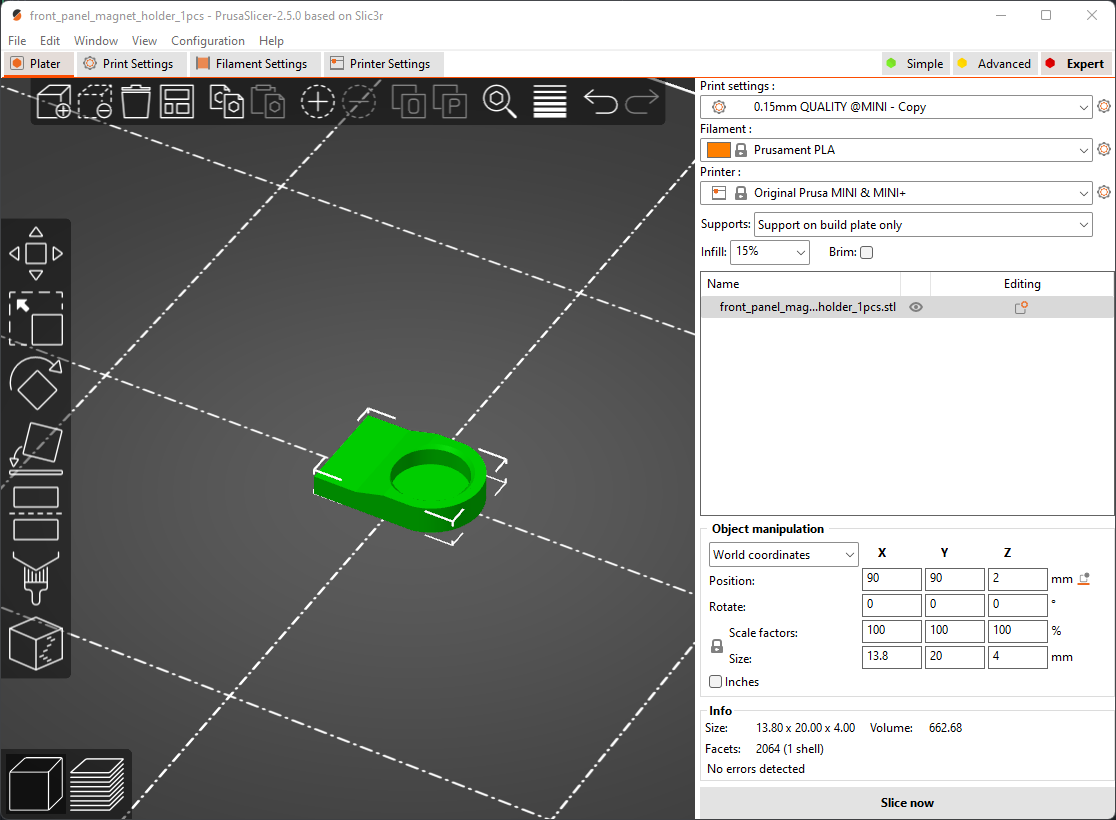
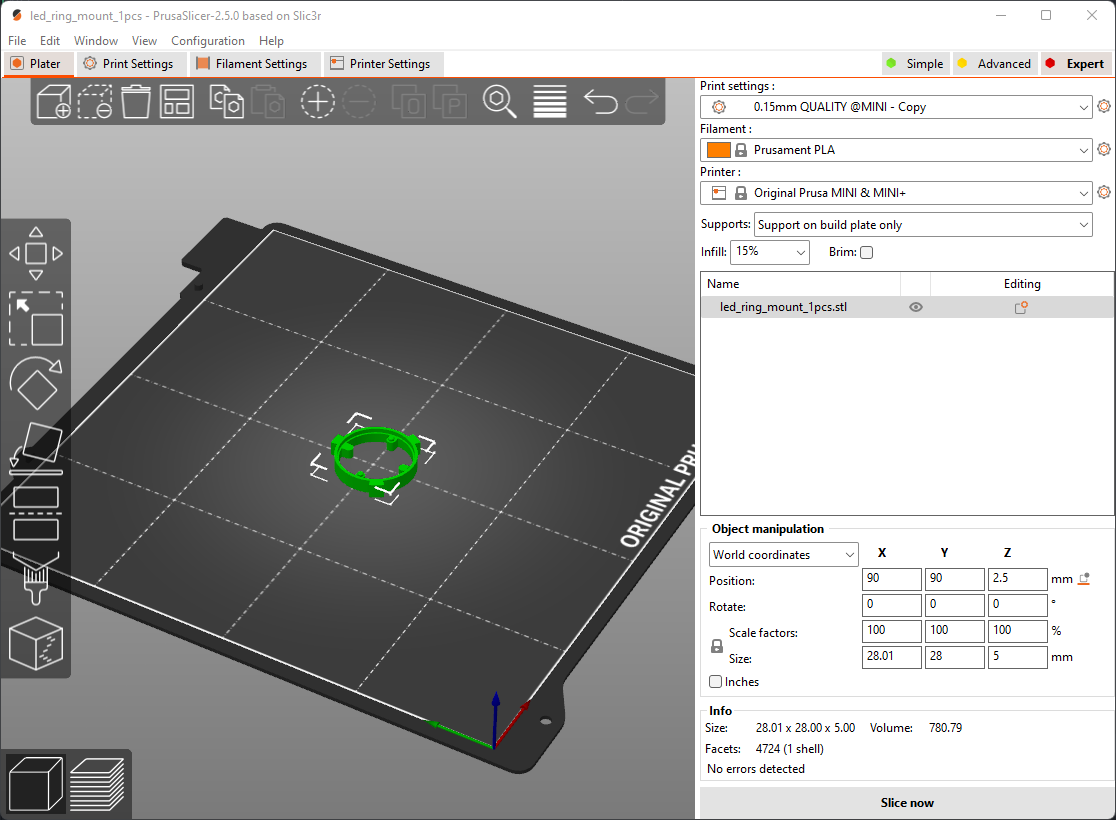
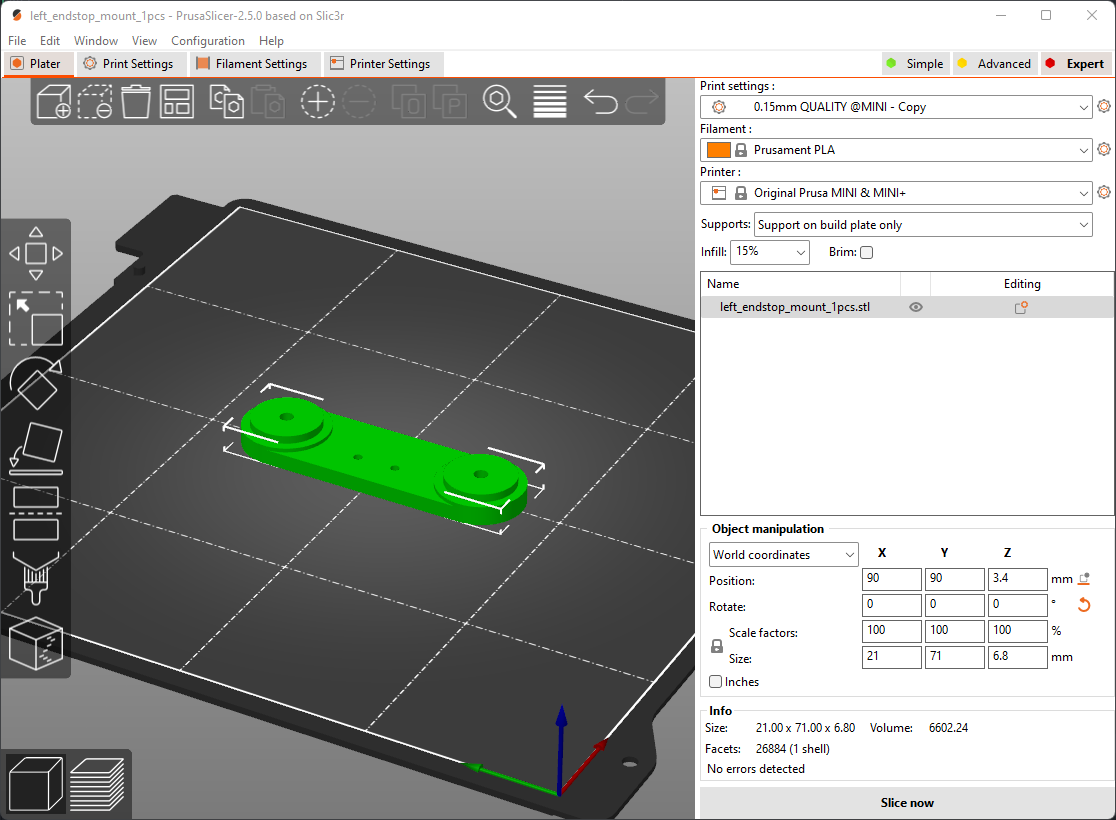
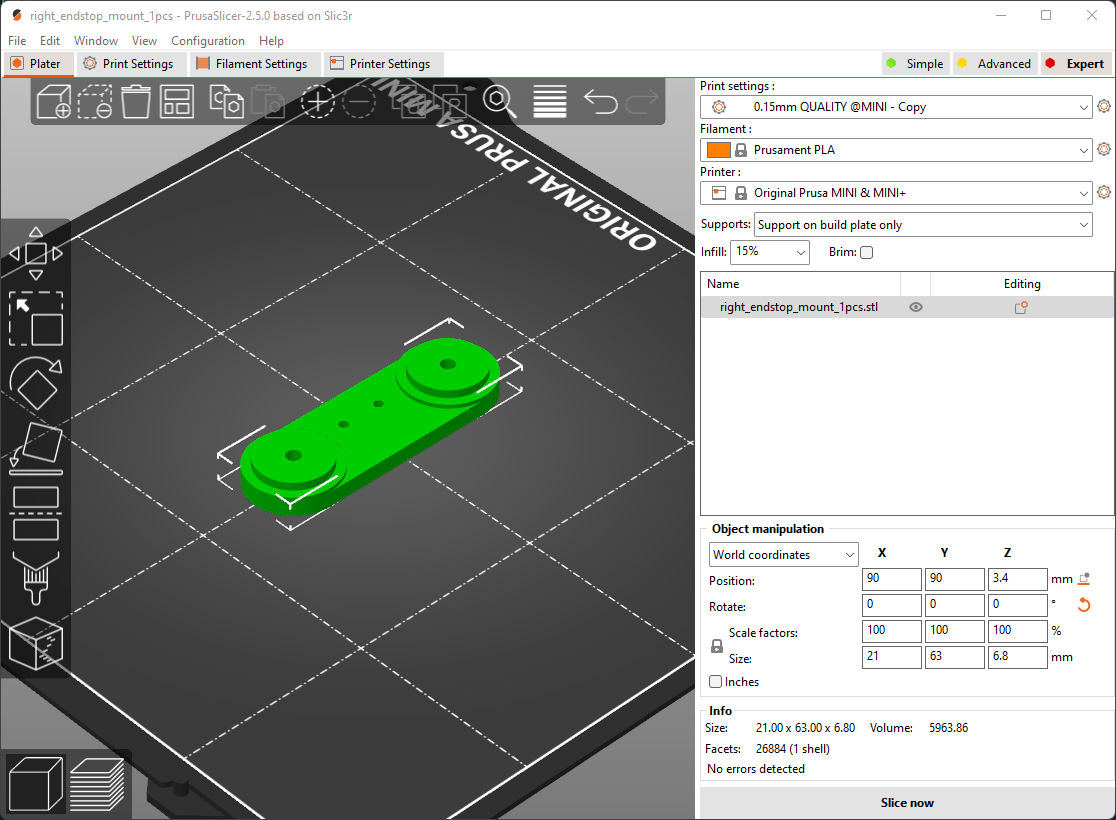
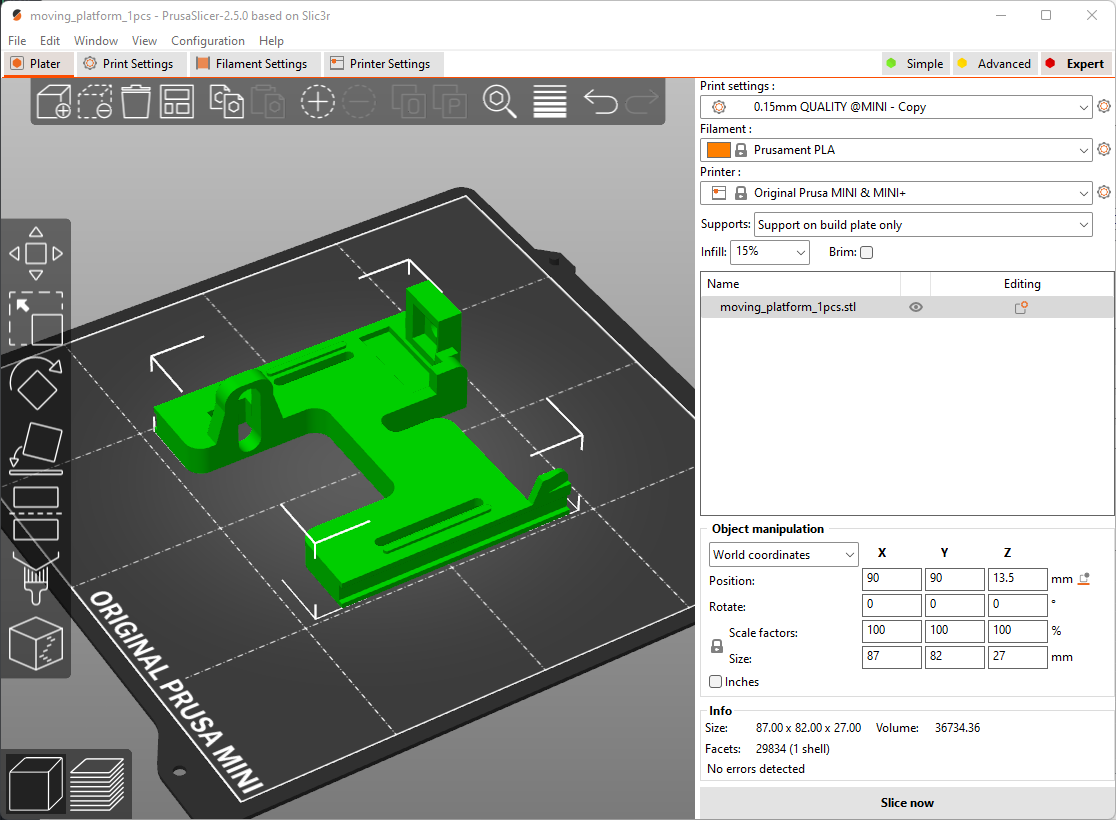
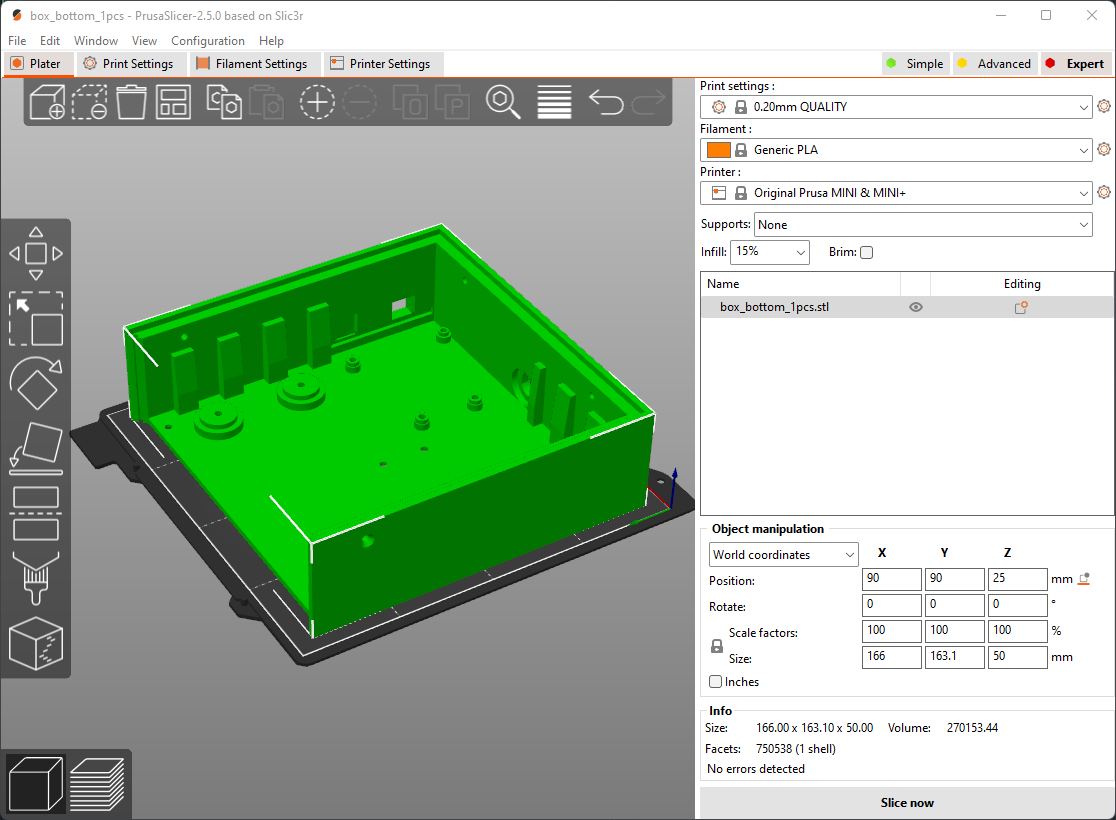
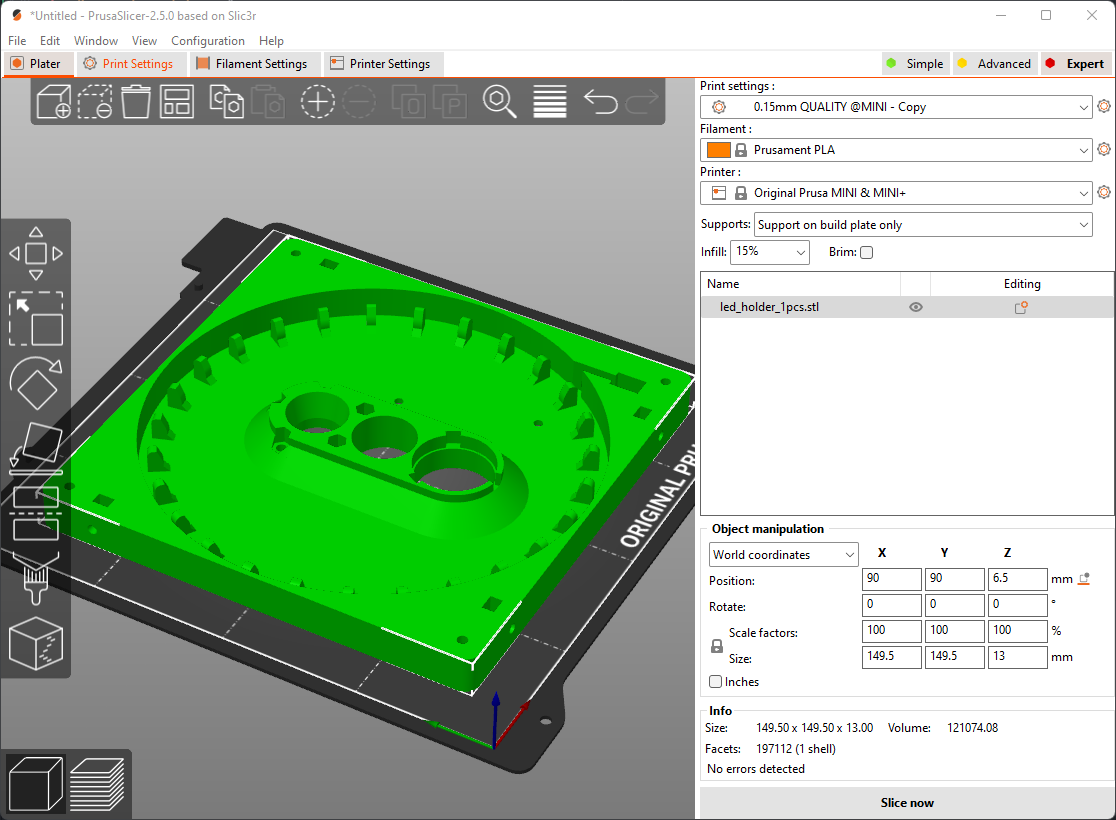
Firstly let's start with the easy ones. These parts do not require any advanced settings. Just set the layer height to 0.2mm and print them.
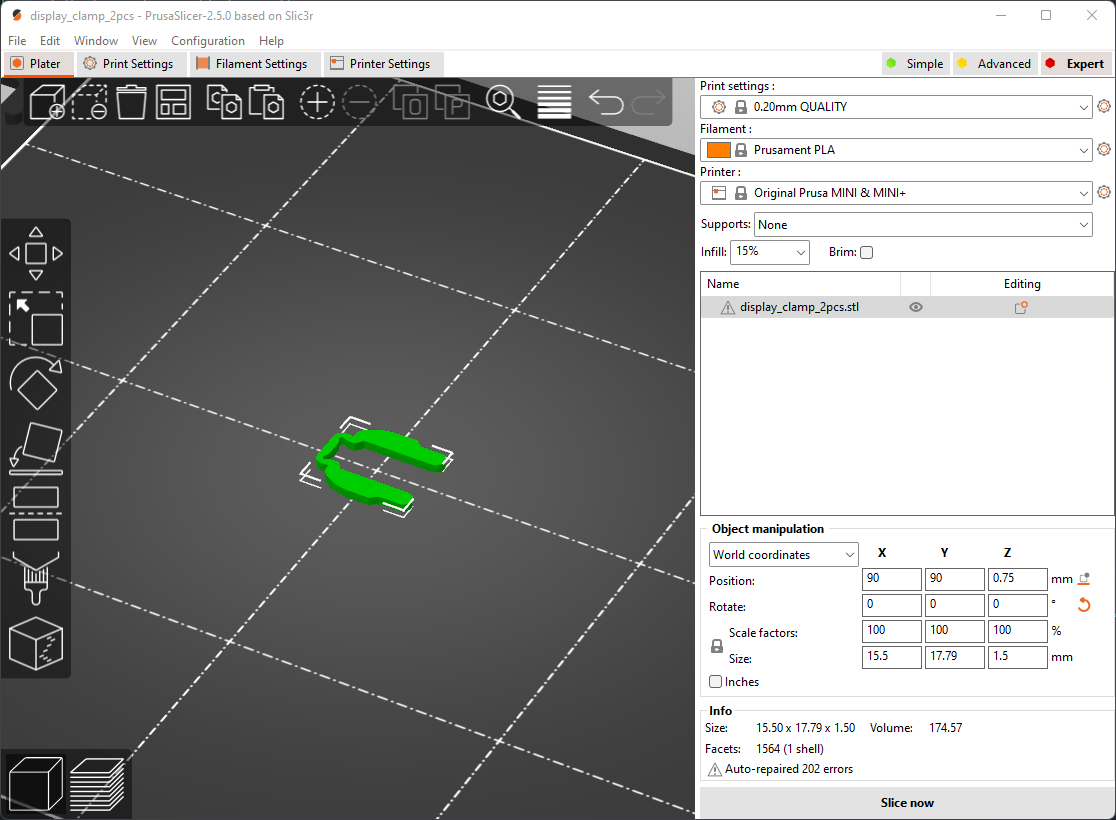

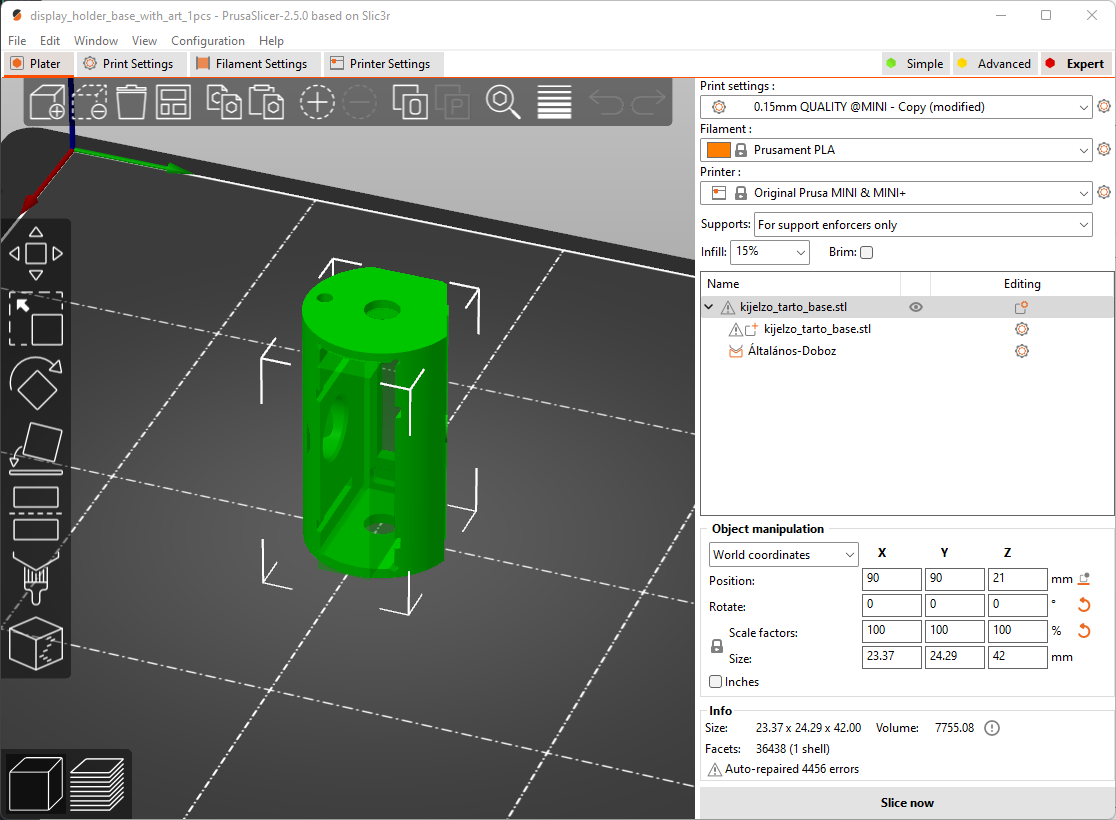
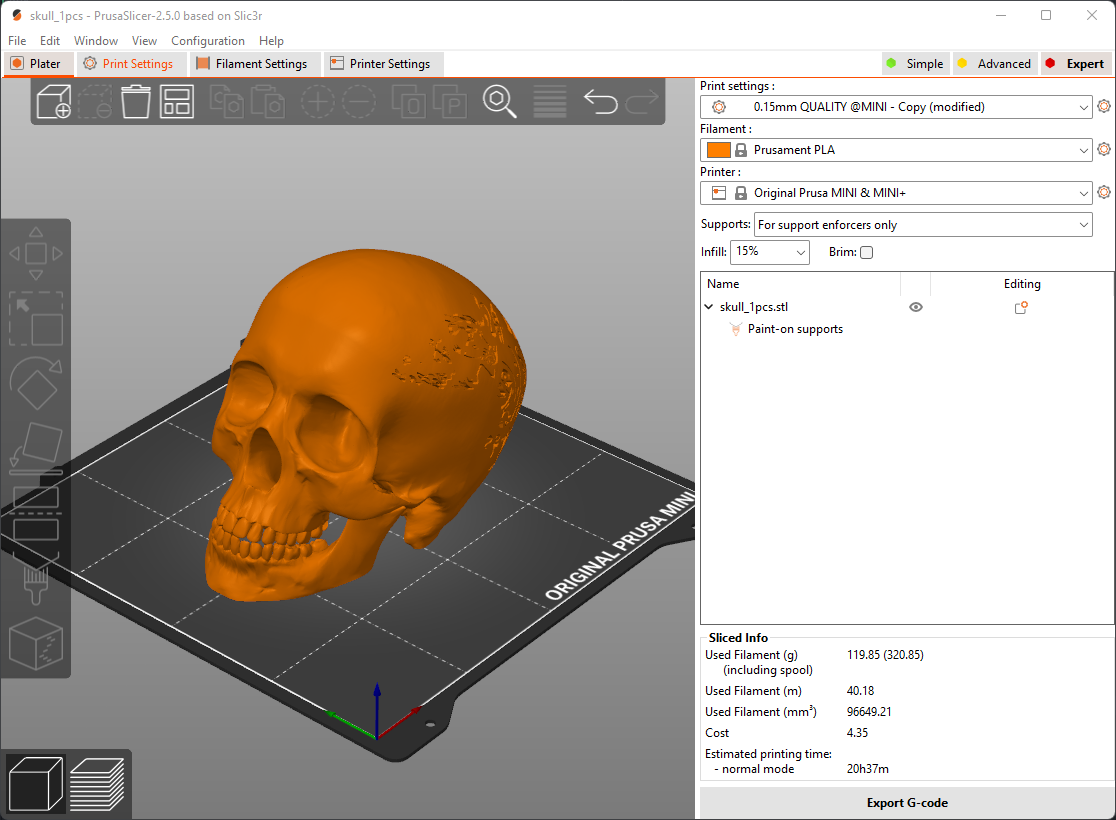
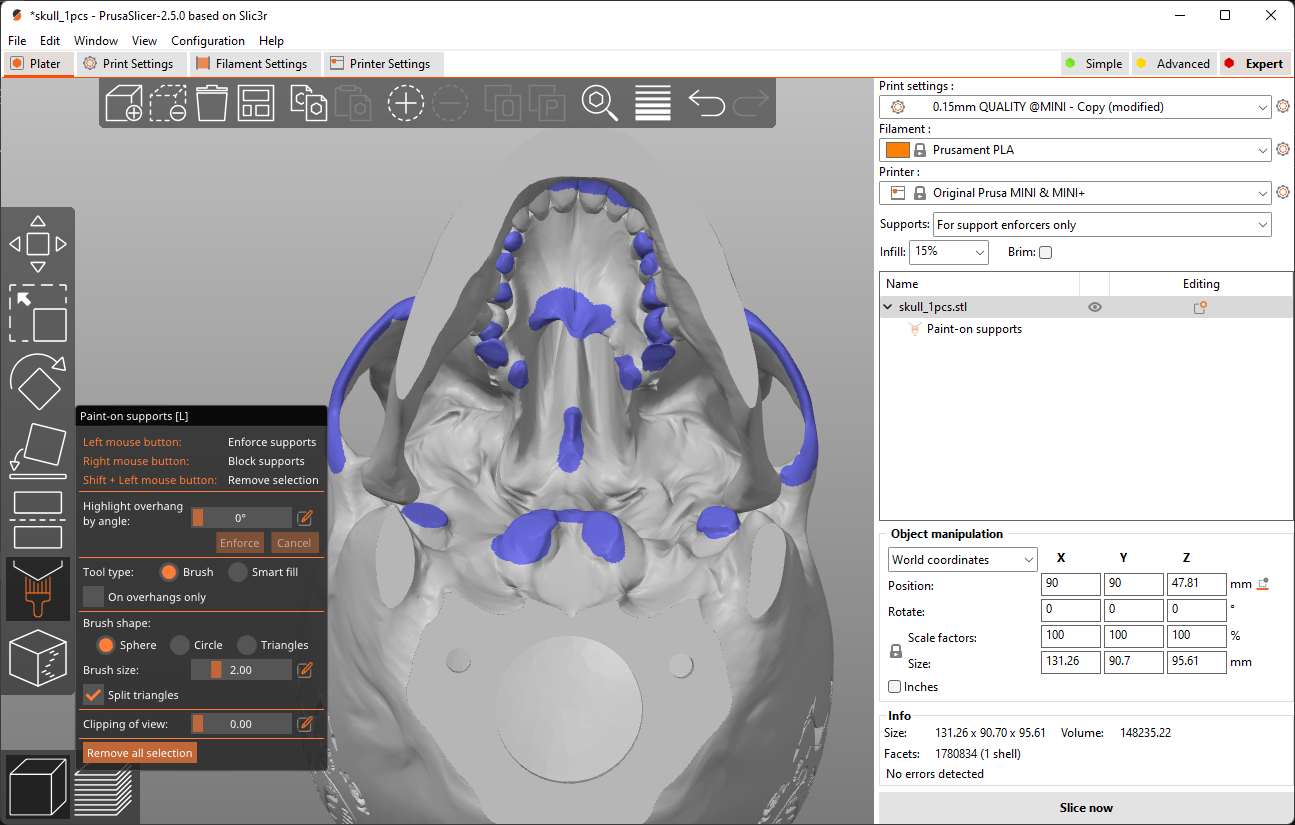
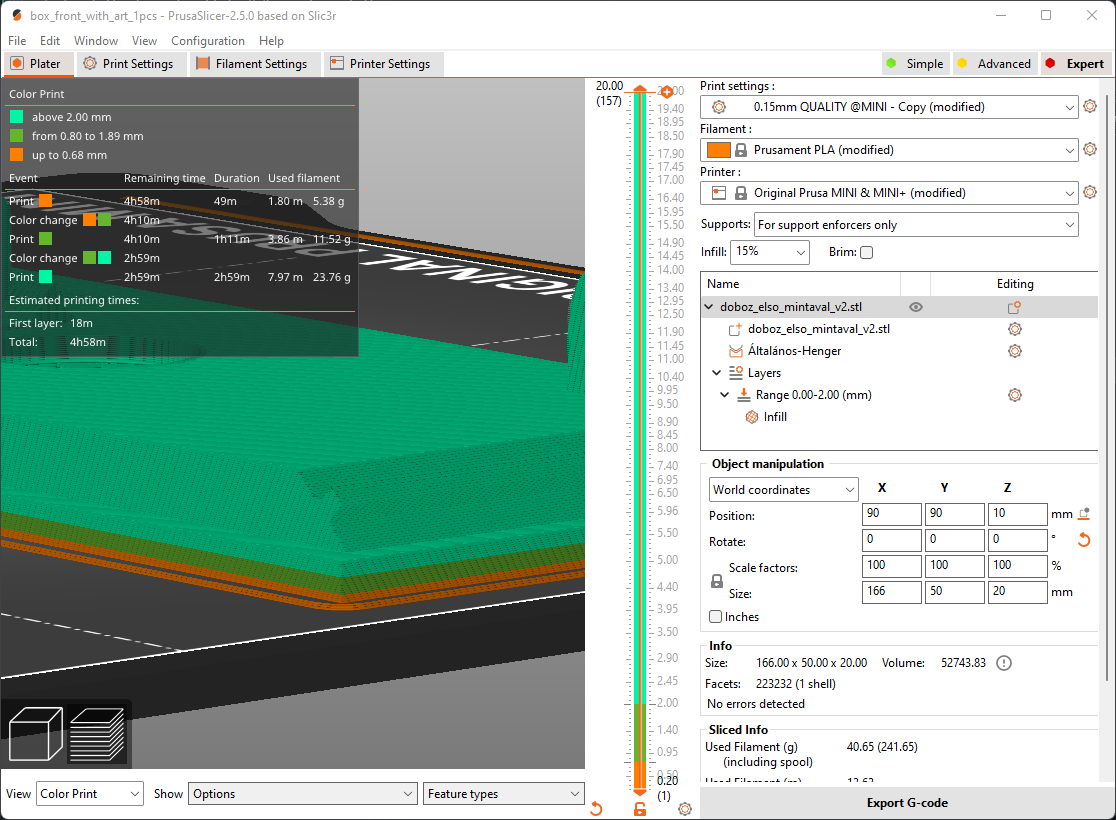
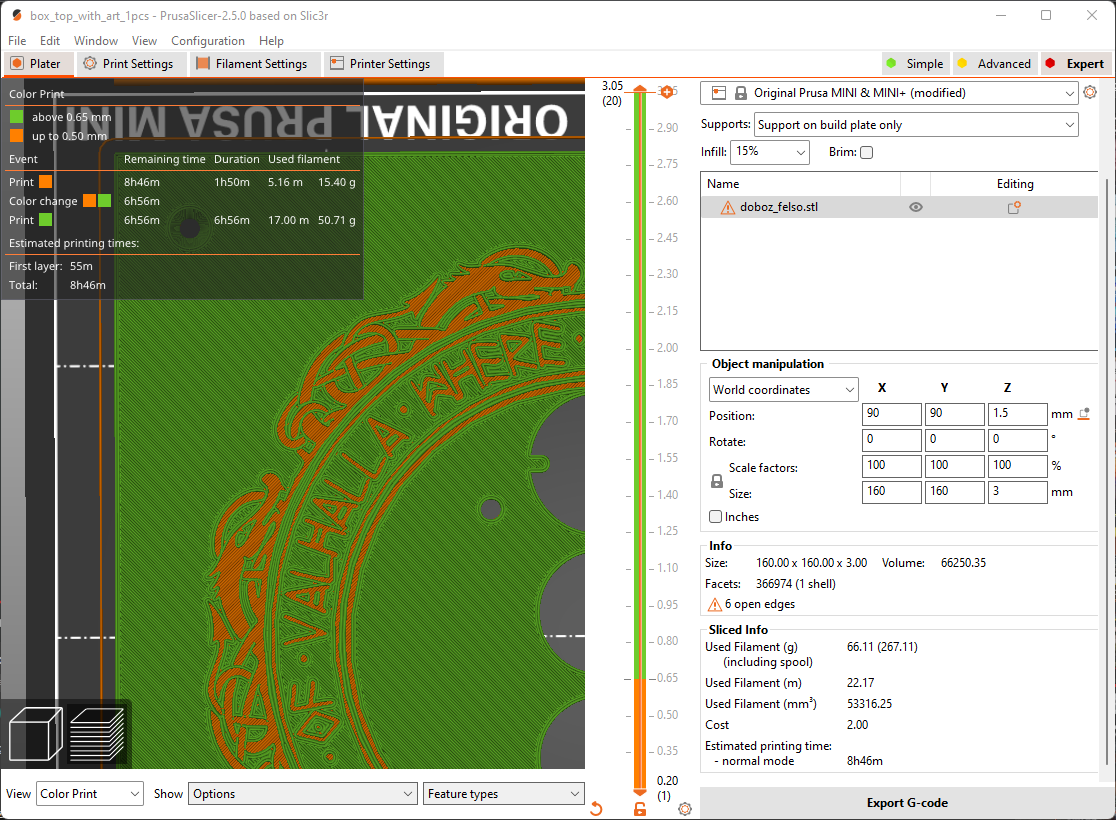
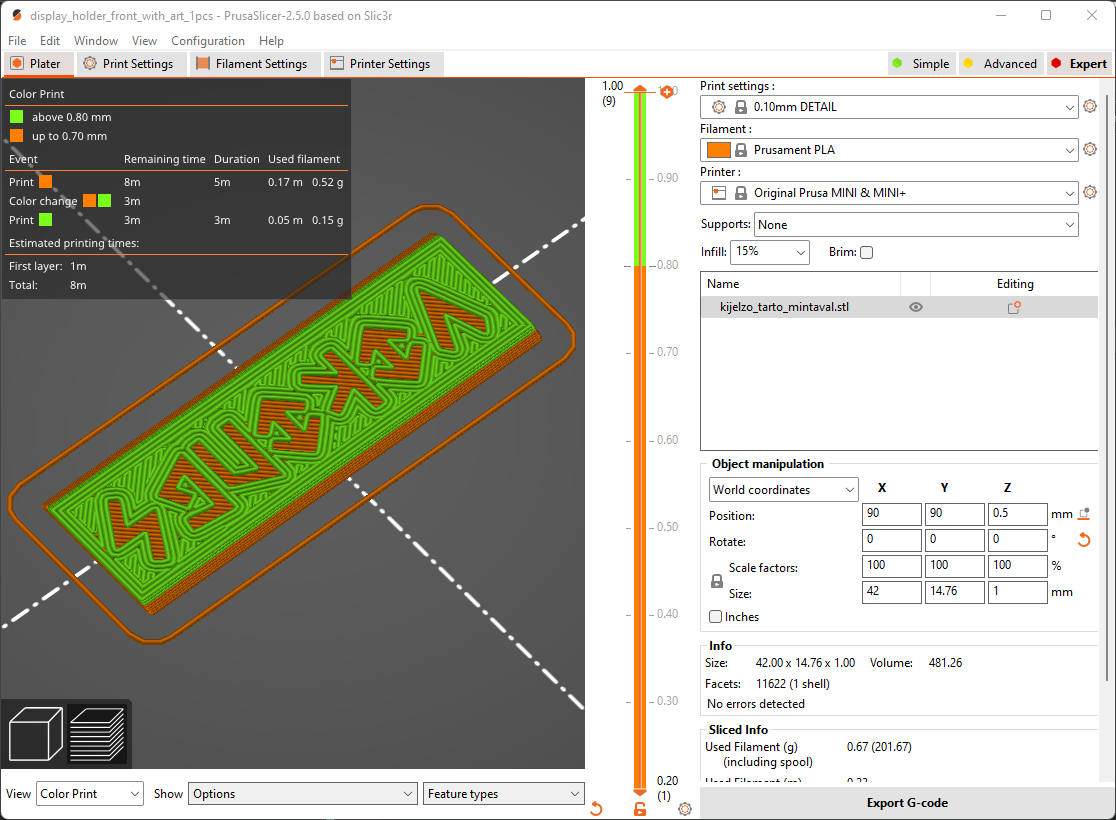
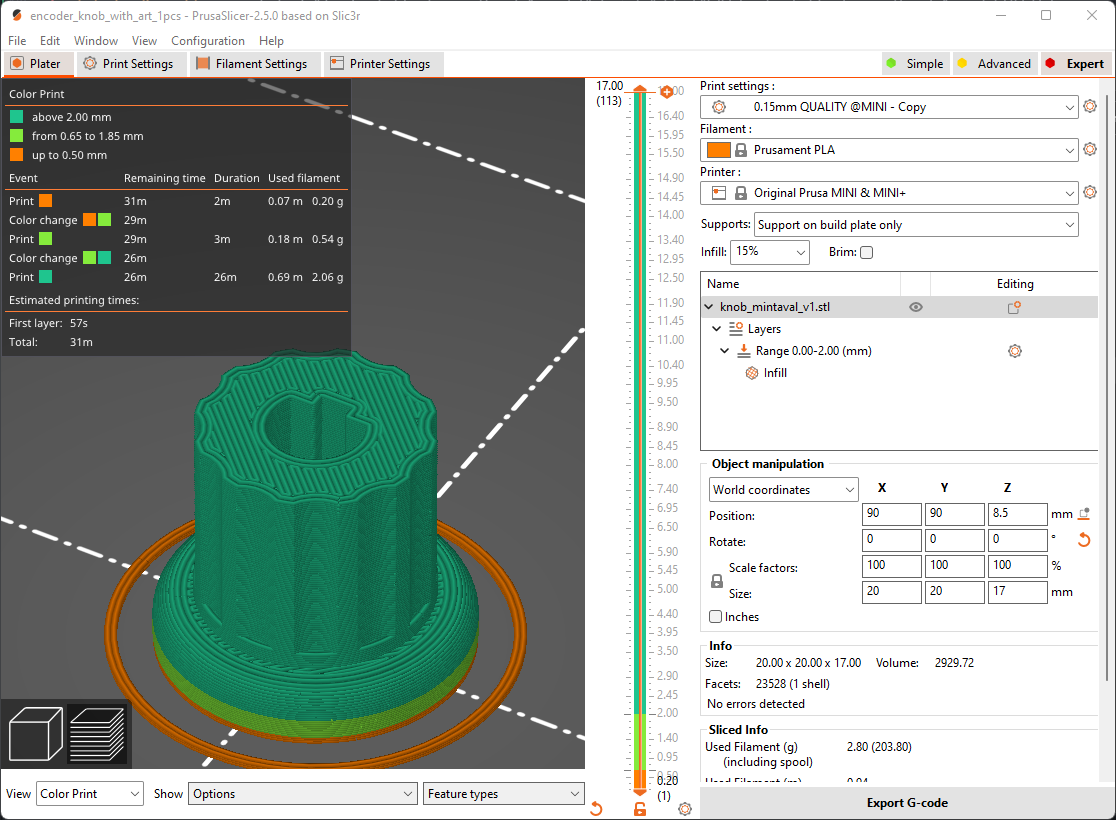
Finally the tricky parts. These parts require color change during the printing. With Prusa Slicer it is easy, I have added the color change commands to the settings.
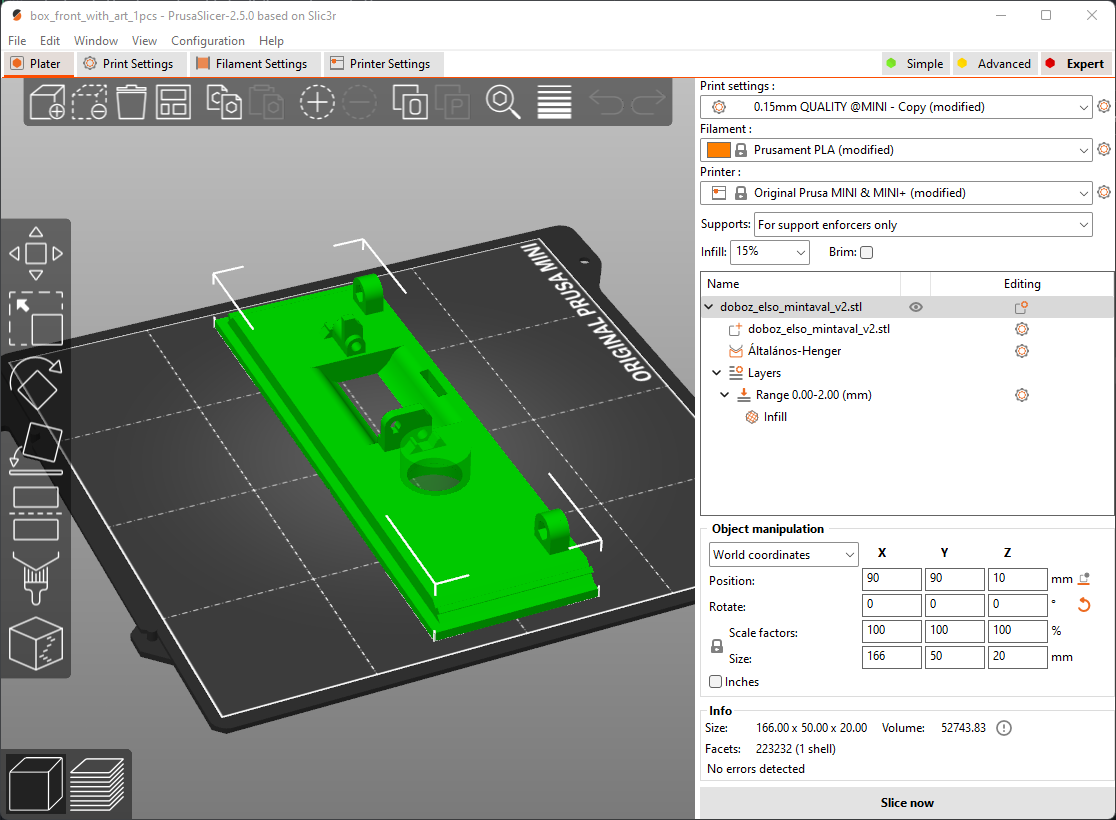
This part is made of three sections:
This part is made of two sections:

This part is made of two sections:
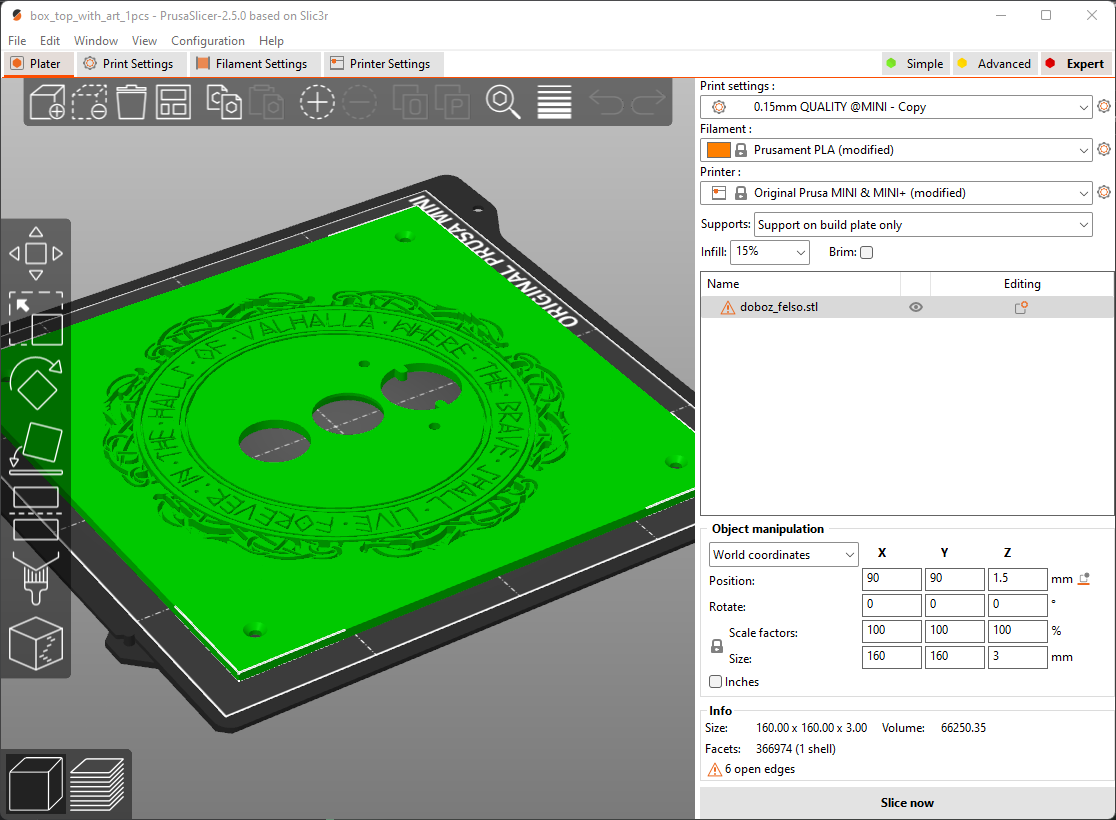
This part is made of three sections:
If you don't like the artwork on the box or if you want to replace it with your own, there is an option for that as well. There are those components without artwork:
I used Blender and its Boolean feature to embed the artwork into the models. The easiest way is to:
There is a video about the subject.
I think the base section of the model( without artwork ) can be used to create awesome lamps. For this reason, the top part( in this case the skull ) is easily replaceable with anything. It is secured by only two screws. You can put any model on the top instead of the skull. I think it would be awesome with a stormtrooper helmet for example.
Zoom 🔎
You can find the exact dimensions of the slots and the screws on the drawing above.
 on Sun Oct 16 2022
on Sun Oct 16 2022
on Sun Oct 16 2022